
How to Back an Embroidery Hoop with Felt
There are so many ways you can back an embroidery hoop and some of them are great and some of them are, well, sketchy. I've done some experimenting and the method I feel looks most professional and doesn't put your embroidery at risk with things like hot glue is the FELT METHOD. And the best part is it's EASY! Here's how to do it in just 5 simple steps!
*VIDEO TUTORIAL at the bottom of this post!
Step 1: Trim around your hoop so that your fabric is in a circle and pull the fabric tight so that it is firm in the embroidery hoop.
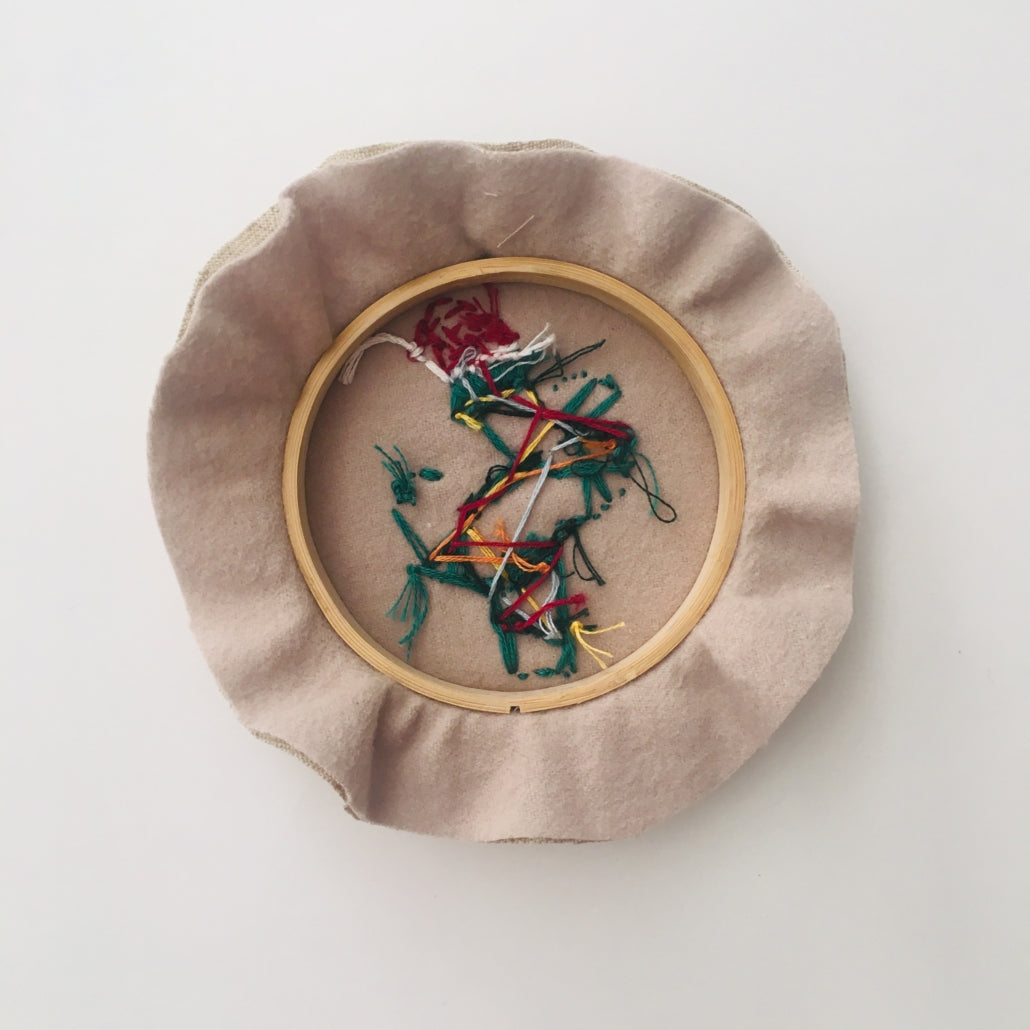
Step 2: Do a running stitch around the hoop and then pull the thread tight. This will cinch all your fabric together. Tie a knot to secure the fabric.


Step 3: Trace your hoop onto the felt and cut it out. You will have to trim it down a little so that it matches the size of your inner hoop.


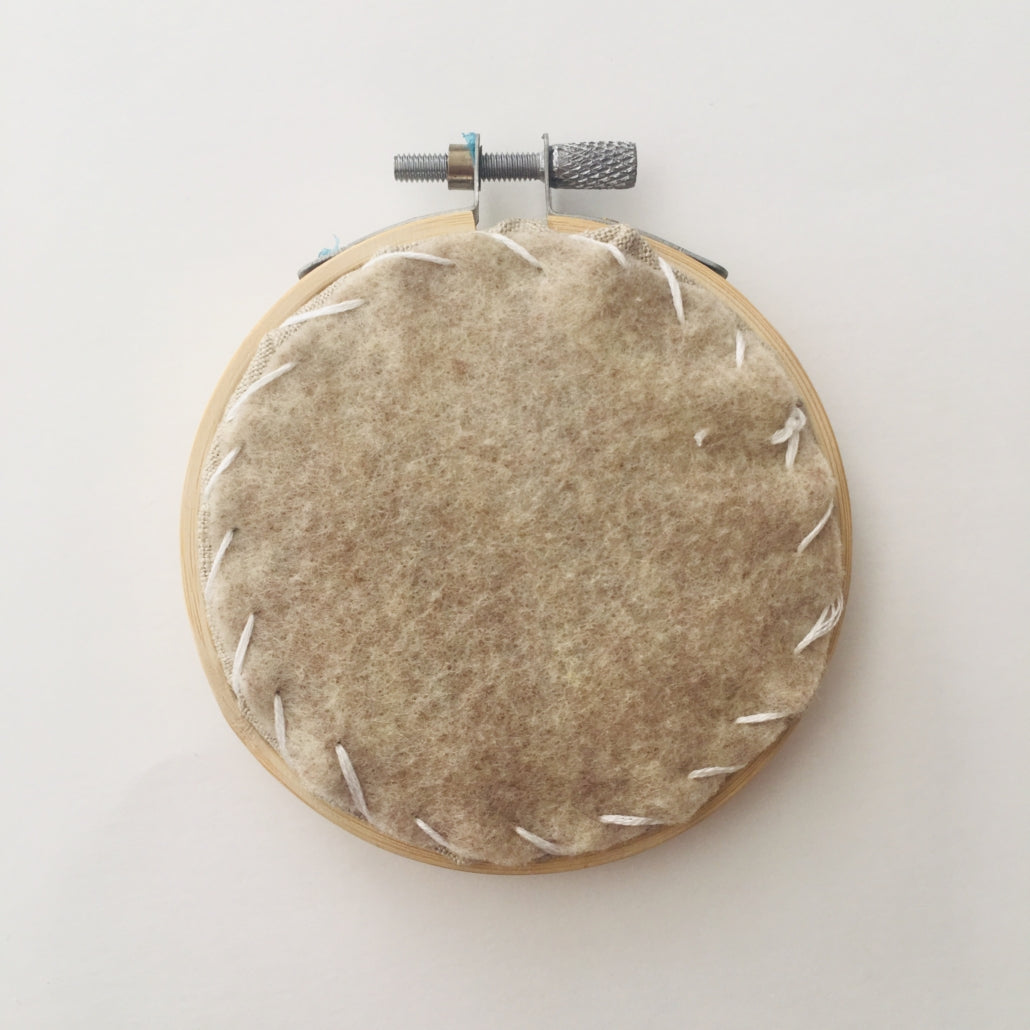
Step 4: Place the felt on the back of your hoop and do a whip stitch around the hoop. Grab both layers (your embroidered fabric and the felt so they are being attached to each other) and go all the way around your hoop.


Step 5: Tie off the thread with a knot to secure the the felt.


Here's a video tutorial for how I have followed these 5 simple steps to back an embroidery hoop with felt!